Data input should be simple and efficient in any application for the end users. This improves usability of the app and overall user experience.
Today, we will learn how to make a rich text field expand in a modal box so that it gives more space for end users to input data.
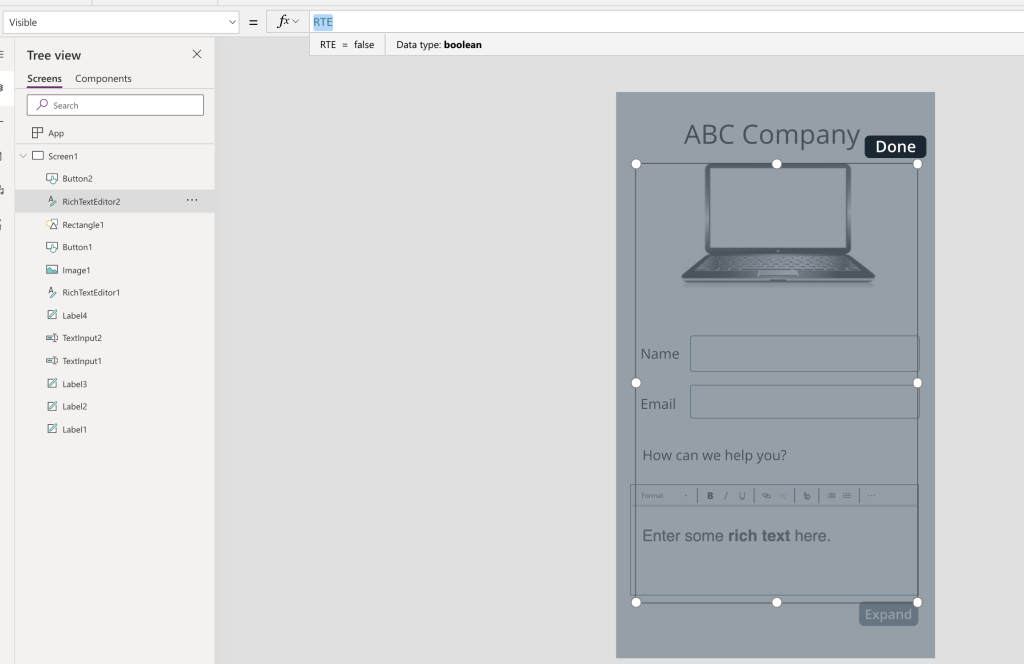
Here is a sample app with this control:
I am breaking the design down to 2 areas :
- UI Changes
- Rich Text control logic
UI Changes
- Create basic form with labels text fields and add “Rich Text Editor” control as needed

2. Add a button(Expand) next to the HTML editor field. This will toggle the modal box on and off. You can use an icon instead of this button.

3. Now let’s start creating the modal box. Add a rectangle that covers the whole screen. Set the Fill attribute and opacity as needed. In this case, I have set opacity to 0.7

4. Add Rich Text field on top of this rectangle. Add another button that will toggle the modal box on and off

5. Let’s look at the visibility logic here. When the “Expand” button is pressed, we need to show the modal box and its elements.
In other words, when the Expand button is selected, Visible attribute of the modal box should be “true”.
In the expanded view, when a user hits “Done”, Visible attribute should be “false”. This will turn off the modal box
Finally, when the application is loading, Visible attribute should be “false” so that the modal box won’t appear unless the “Expand” button is clicked.
We can use a custom global variable(RTE) to configure this.
Initialize RTE Variable during Application OnStart. Set the initial value to “false”.

Set the RTE value to “true” when the Expand button is clicked

Set RTE value to “false” when Done button is clicked

Visibility logic is now configured with the help of RTE variable.
6. Bind the variable to Visible attribute of modal box elements. (Update Visible attribute of RichTextEditor2, Button2 and Rectangle as RTE)
Save the app. UI part of the modal box is done.
Rich Text control logic
- When the expand button is selected, it should transfer all text from the small RichTextEditor1 field to the expanded RichTextEditor2 field.
We can add below code to the “Expand” button OnSelect action.
Set(UserRichText, RichTextEditor1.HtmlText);
Above code will assign the RichTextEditor1 field value to a global variable called UserRichText so that it can be used in the expanded view.
2. Update Default value of RichTextEditor2 with UserRichText variable.
When the modal box loads, it will take the value from the RichTextEditor1 field and load it as the default value in the RichTextEditor2 field. This will preserve the already entered text by users.

3. Finally, we need to update the RichTextEditor1 field with the text that was entered in the expanded view. For this, we can set the default value of the RichTextEditor1 as the HtmlText value of RichTextEditor2 field.

4. Save and publish. Now we can test this control. Here is a sample app created using this control.
Utilize RichText fields wherever possible to increase usability of your apps.
Happy Learning!
Categories: PowerApps

Leave a comment